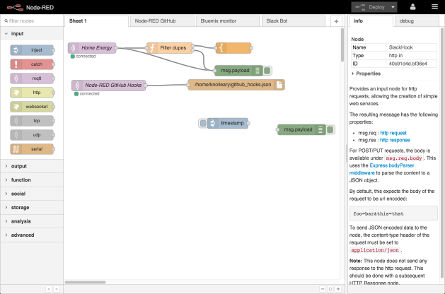
Have you heard about Node-RED ? This graphical tool aims to help developers in their mission to wire the Internet of Things using Flow Based Programming. I watched few tutorials and demonstration videos, to understand how boxes send messages to each others, following the flow, to finally sending messages to the outer world or command some piece of hardware, like a LED or a temperature sensor. We will see here how to create a weather forecast display using a Raspberry-Pi, Node-RED, and Yahoo Weather API.
More info about Node-RED: http://nodered.org/ https://learn.adafruit.com/raspberry-pi-hosting-no…
Step 1: The hardware
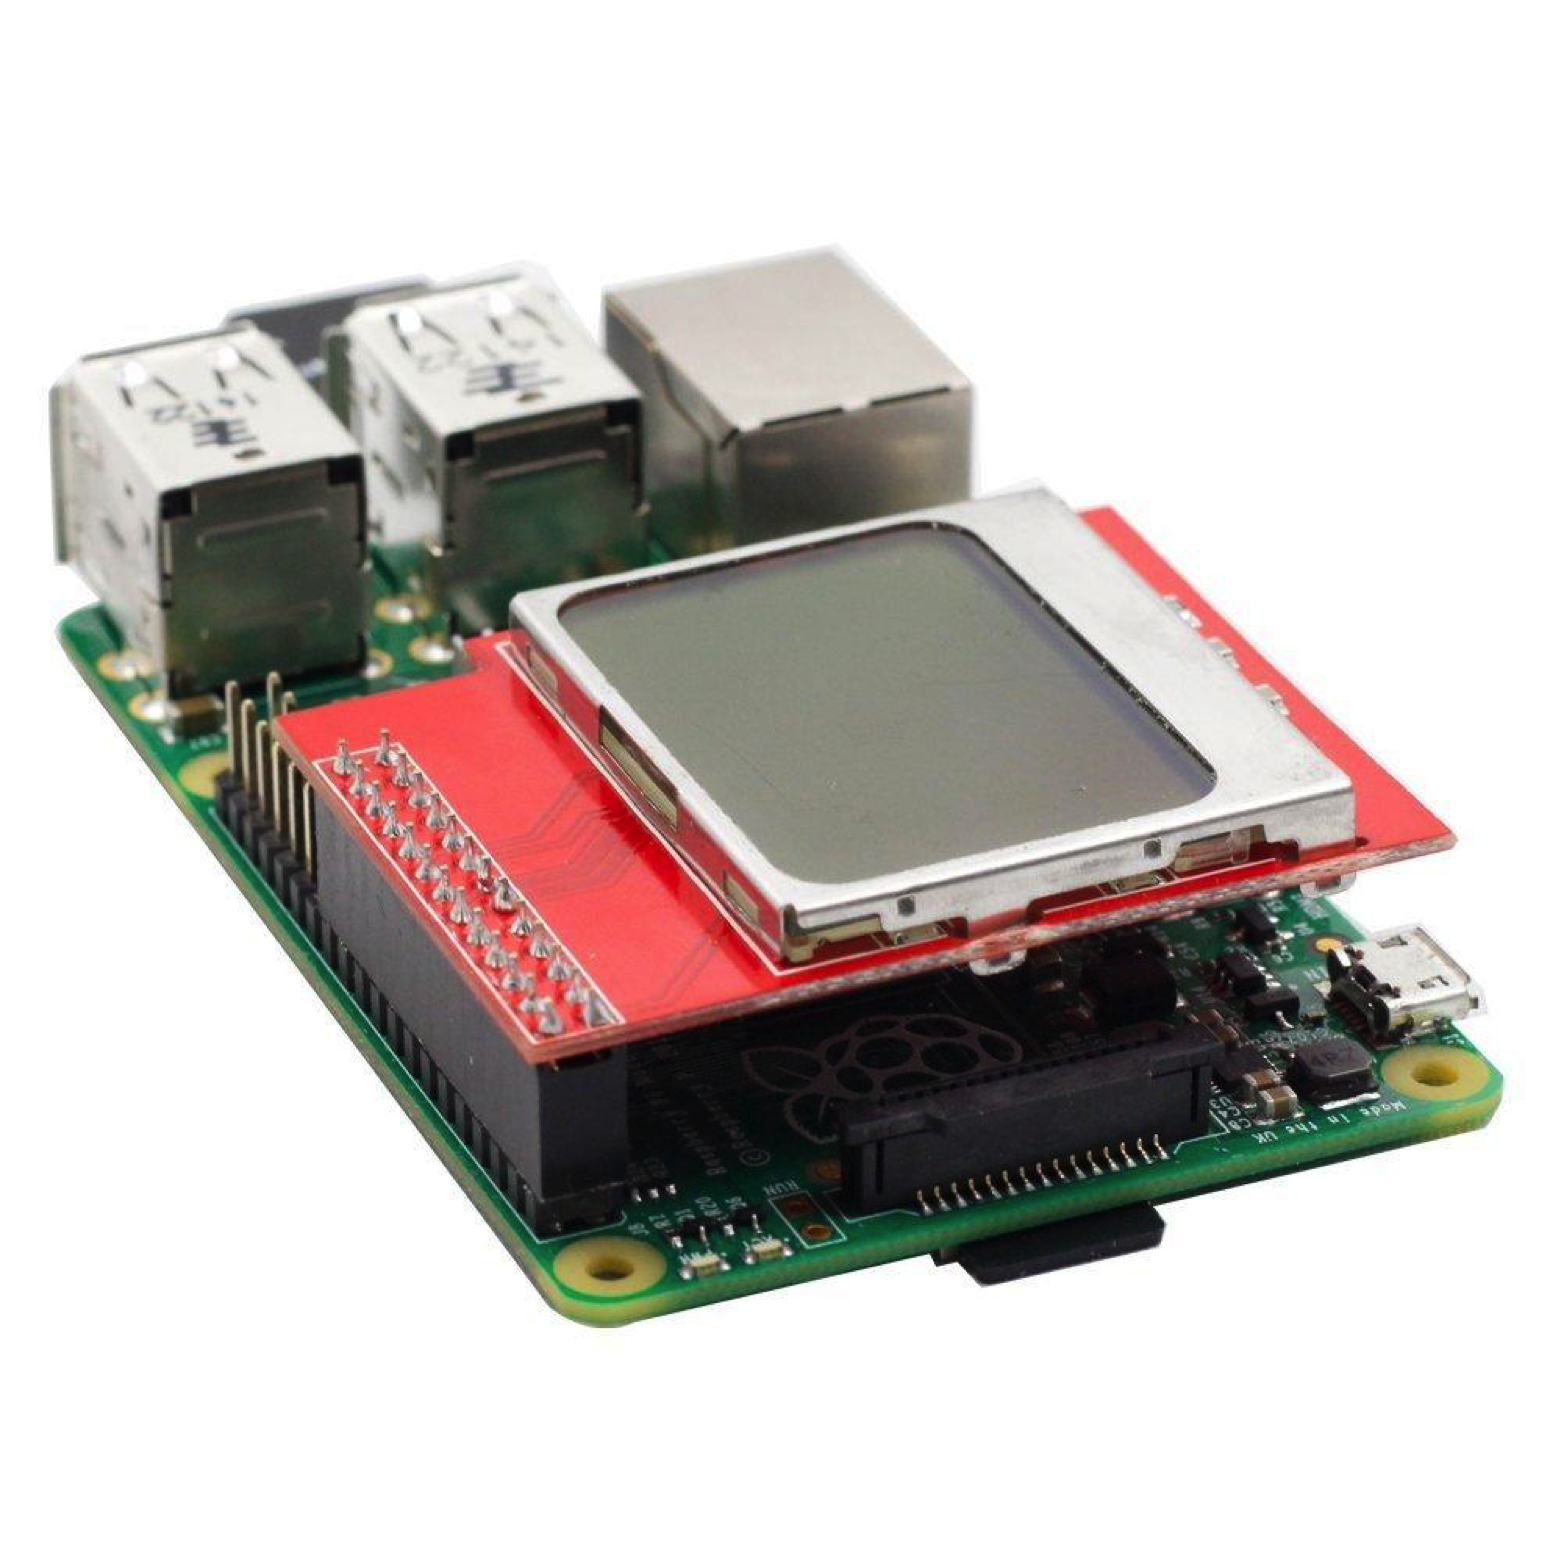
To add a display to my Raspberry, I chose the PCD8544 from Sunfounder.
Step 2: Installation of the Node-RED box to control the LCD
I wanted a box on my Node-RED « palette » to stand for my LCD. Then I created a Node-RED module following the dedicated tutorial.
Install Node-RED
You can find the Node-RED installation guide for Raspberry here: http://nodered.org/docs/hardware/raspberrypi.
Install wiringPi driver
My Node-RED package uses of WiringPI-library of Gordon Henderson. From your Raspberry-Pi terminal, install the driver:
$ cd /home
$ git clone git://git.drogon.net/wiringPi
$ cd wiringPi
$ sudo ./build
Install the Node-RED box for the LCD “PCD85444” display
Still connected to your Raspberry, install the LCD Node-RED box I created :
$ sudo npm install -g node-red-contrib-pcd8544-rpi
If needed you can find the source code on my Github repo: https://github.com/pevandenburie/node-red-contrib….
Start Node-RED
Then start Node-RED on the Raspberry :
pi@raspberrypi ~ $ sudo node-red

Welcome to Node-RED
===================

27 Feb 21:39:17 - [info] Node-RED version: v0.13.1 27 Feb 21:39:17 - [info] Node.js  version: v0.12.6
27 Feb 21:39:17 - [info] Loading palette nodes 27 Feb 21:39:42 - [info] Settings file  : /root/.node-red/settings.js
27 Feb 21:39:42 - [info] User directory : /root/.node-red 27 Feb
21:39:42 - [info] Flows file : /root/.node-red/flows_raspberrypi.json
27 Feb 21:39:42 - [info] Server now running at http://127.0.0.1:1880/
27 Feb 21:39:42 - [info] Starting flows
27 Feb 21:39:44 - [info] Started flows
Using Node-RED
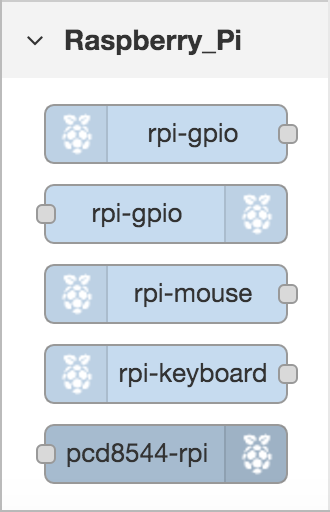
From your computer, open your favorite browser and enter the URL of the Node-RED interface using the IP address of your Raspberry on port 1880: http://raspberry_IP_address:1880 The Node-RED shall open. On the bottom left, the Raspberry-Pi specific boxes are listed, and you should see the PCD8544 LCD box.
Step 3: Testing the LCD
Here come the fun. Now we start playing with Node-RED palette!
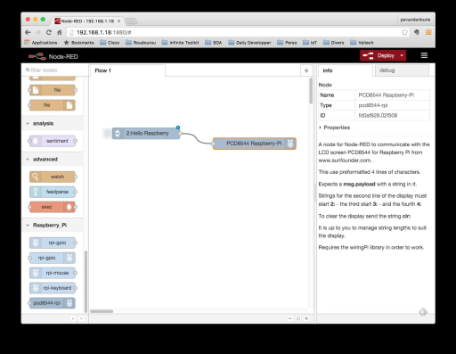
1- Drap and drop an “inject” input box and the “pcd8544-rpi” box, then wire “inject” output to “pcd8544-rpi” input.
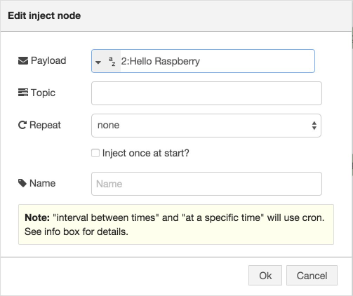
2- Configure the “inject” box to send the message string “2:Hello Raspberry”. The “2:” prefix will indicate to the “pcd8544” box that the message is for LCD line 2.
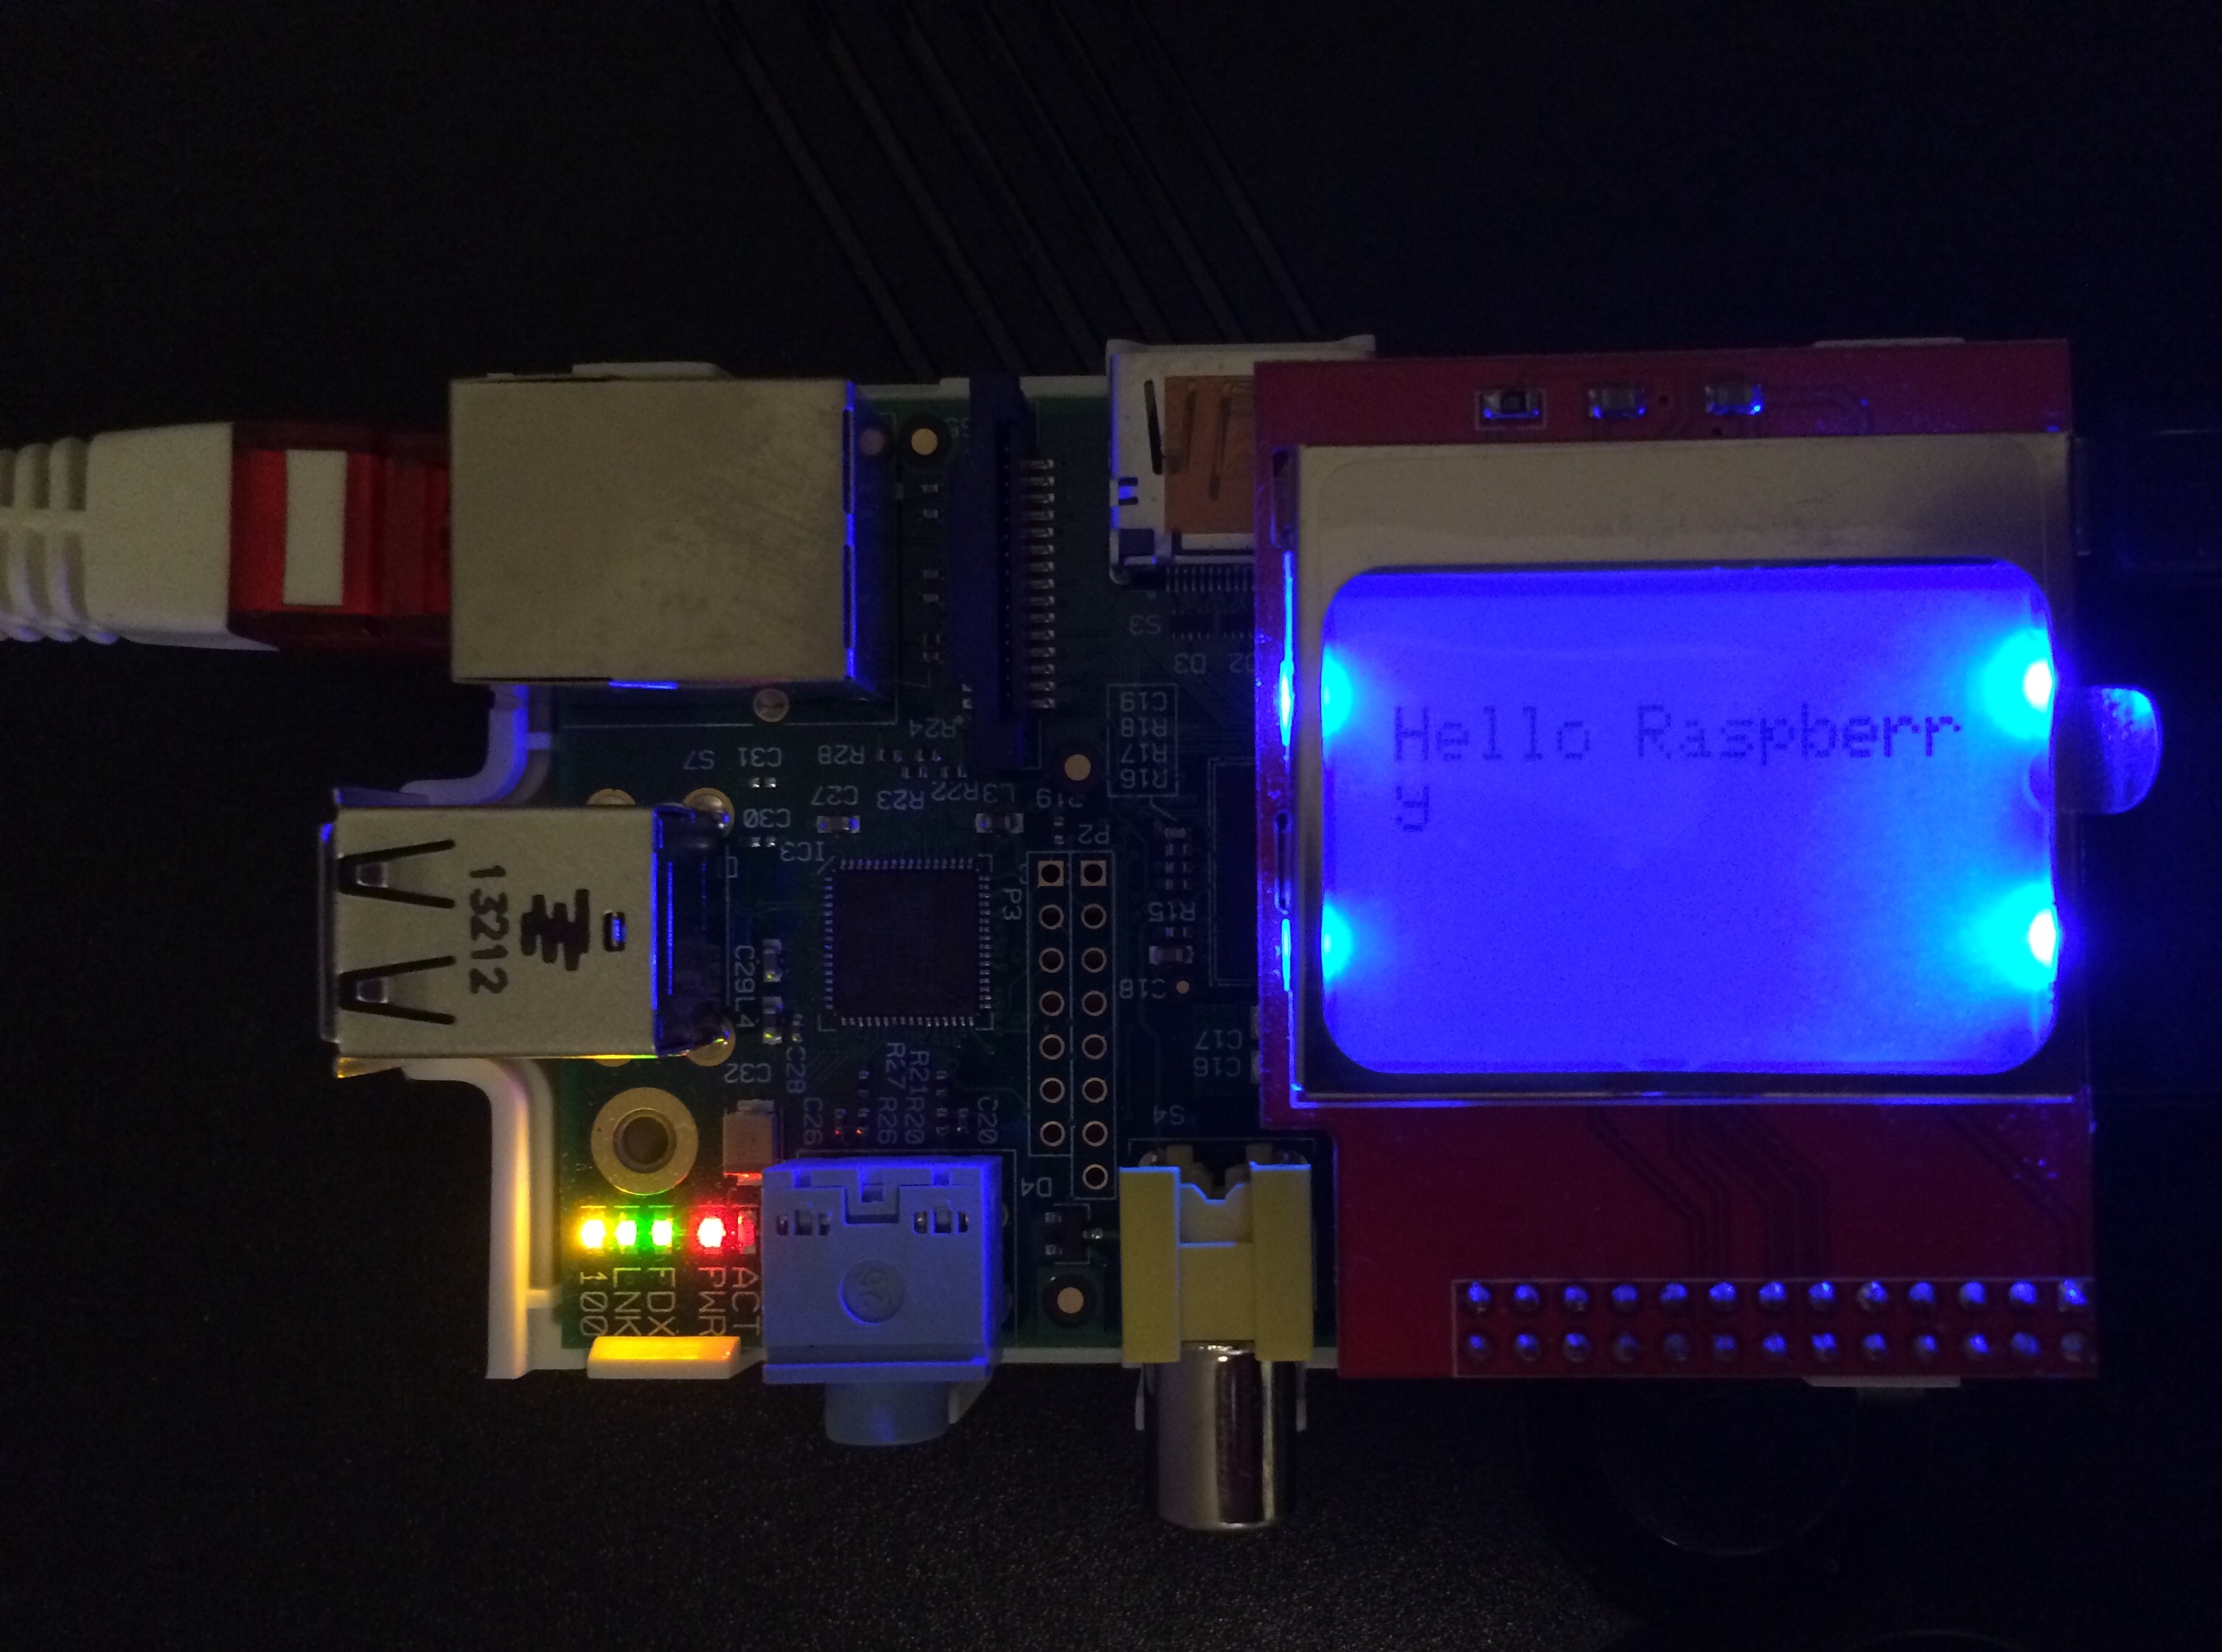
3- Press “DEPLOY”, then press the button on the left part of the “inject” box. Look at the LCD display: you should see “Hello Raspberry”.
Step 4: Using Yahoo Weather API
Yahoo provides a simple Weather API to retrieve current weather and forecast depending on the location. Have a try by opening this URL in your browser : https://query.yahooapis.com/v1/public/…
This URL returns weather information (you will replace Paris with your own place) within a huge JSON we will need to parse to retrieve informations we want to display:
- The current location (actually we will also provide it in the URL).
- The textual format of the 3 next days forecast. We will need two things:
- a “http request” box to send above Yahoo Weather URL;
- a “function box” to parse the JSON and format the messages to send to “pcd8544-rpi” LCD display box.
These two boxes will be inserted in the flow you created in previous step.
Well, I stop the suspens: I made the sub-flow with the Yahoo Weather parsing available :
- copy the node-red-yahooweather2screen.json JSON from here: https://gist.github.com/pevandenburie/022a94f5bf0003b2d9d5#file-node-red-yahooweather2screen-json
- In the Node-RED palette, open the menu on the top-right, then import / Clipboard, and paste the JSON text.
A nice “yahooweather2screen” appears: just place it on the palette, and link it between the “inject” box (whose text will just be ignored) and the “pcd8544-rpi” box.
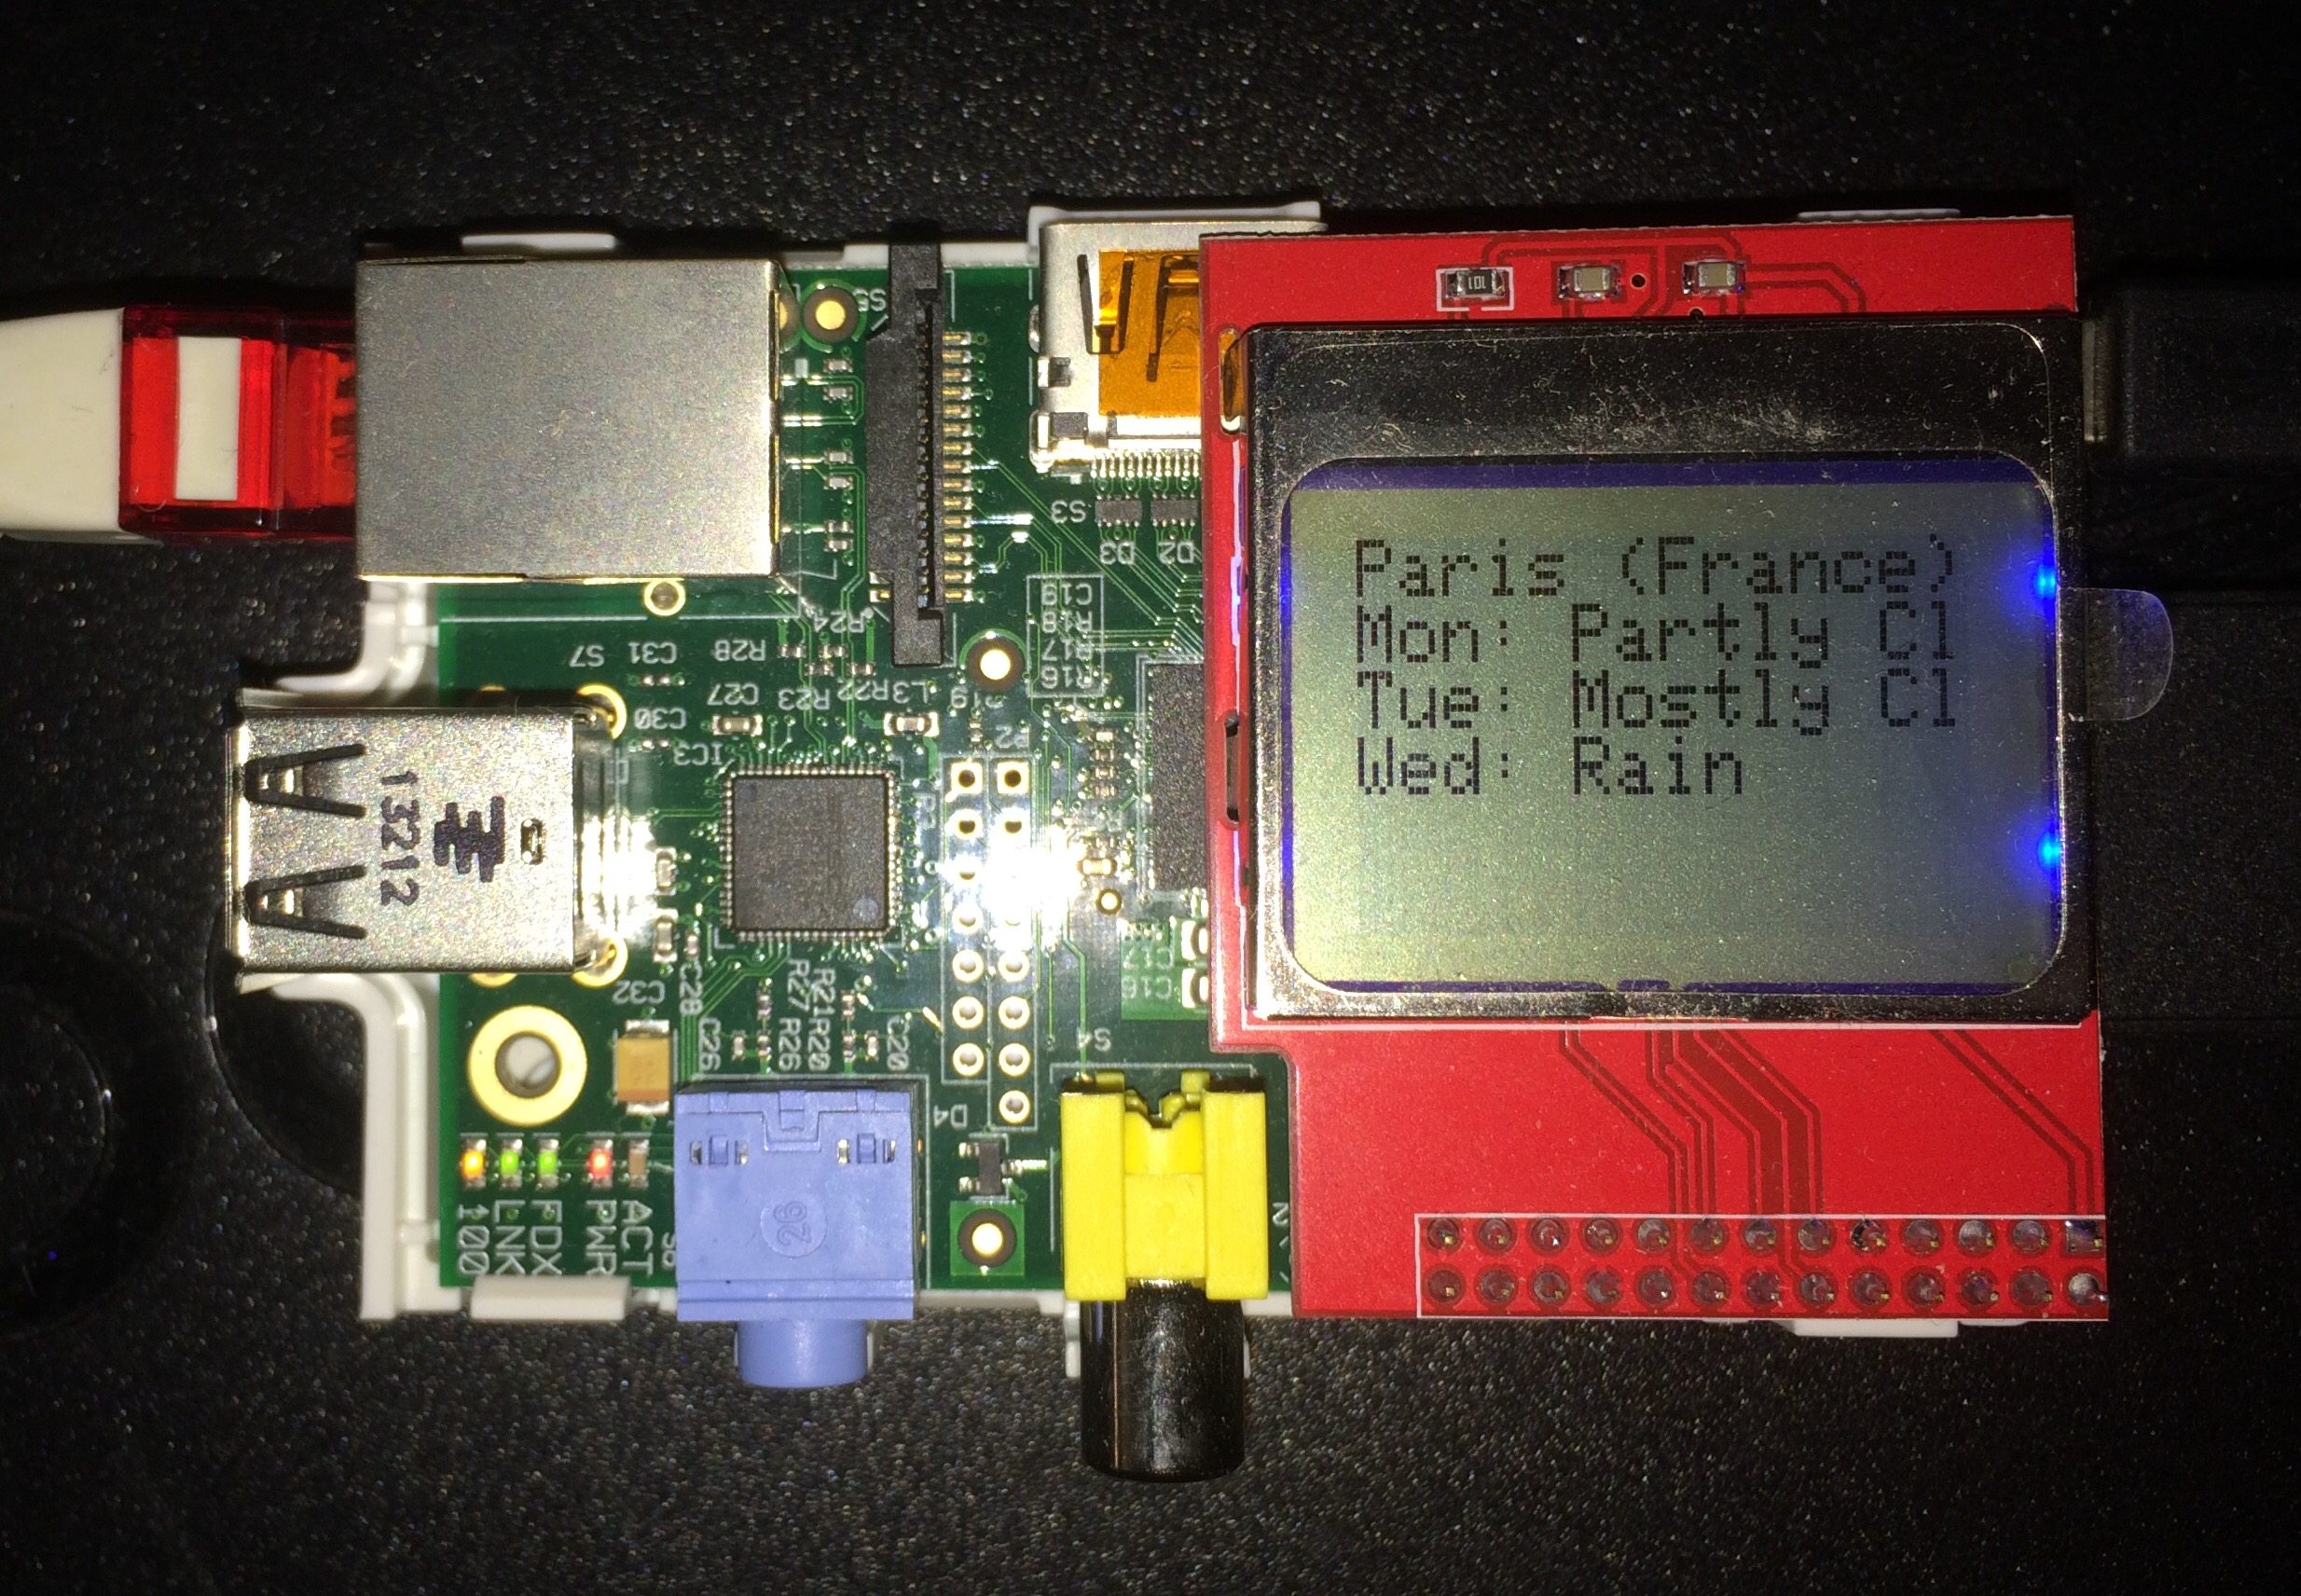
Press “DEPLOY” then the button on the left part of the “inject” box. Look at the display: you shall see the weather for the current and next two days. The attached picture shows that “Partly Cloudy” message is cut. This is quite annoying, and I still need to find a nice way to display long messages if I don’t want to buy a wider display! ;-)
Step 5: Startup sequence
Refresh Trigger
A period of 2 hours seems good to refresh the weather forecast information. To do so, configure the “inject” box with “Repeat” interval set to 2 hours, and select “Inject once at start”.
Startup sequence
You will probably want Node-RED to start automatically at startup: the last deployed flow will be then loaded. The Node-RED documentation explains how to use SystemD to achieve this.
Conclusion
For any experienced developer, Node-RED would probably not increase drastically the productivity. But surely, Node-RED is quite effective when comes the time to share our piece of functional software with others: you won’t just share some code nicely wrapped with a fancy API and documentation. Node-RED allows you to provide a box that people will simply grab and place somewhere in their own flow!
